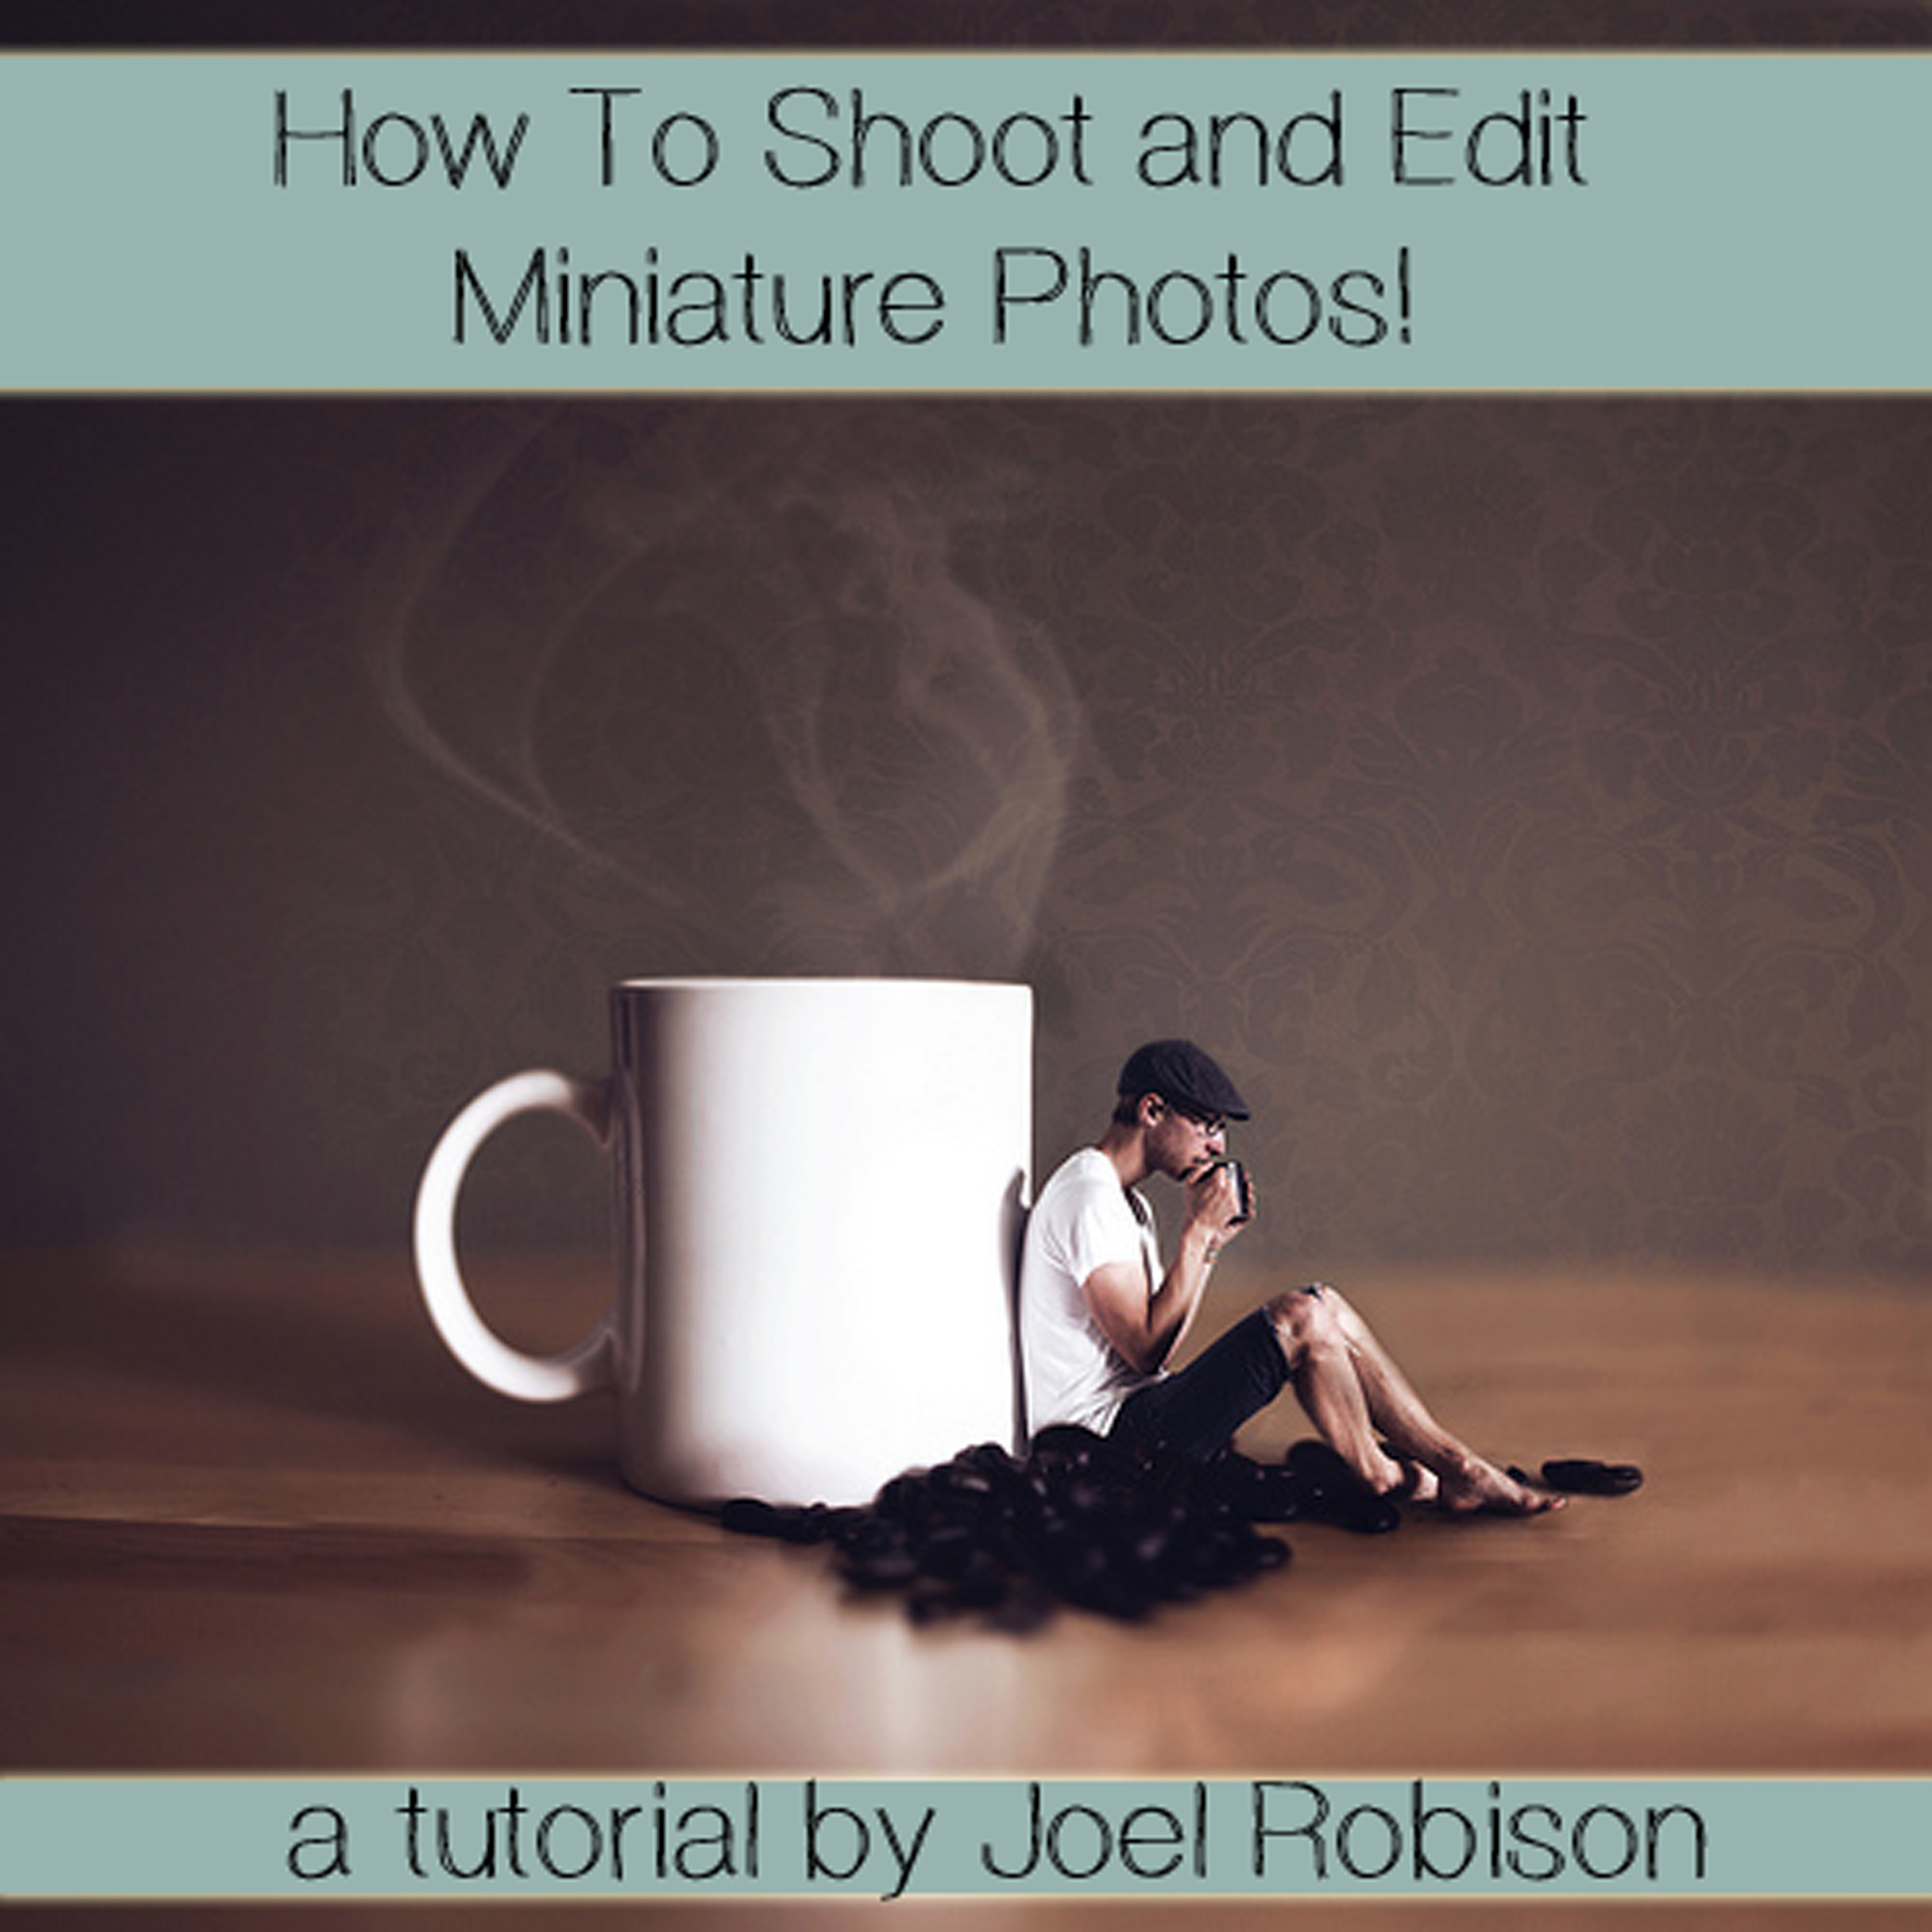
In the past few months I’ve received quite a few requests and questions around creating a tutorial for how I do photos like these, making myself miniature! I’ve been meaning to write a tutorial for how I achieve this look but haven’t had much time to sit and write one out, until now!
I’ll break the tutorial down into two parts, shooting the actual images and then editing them.
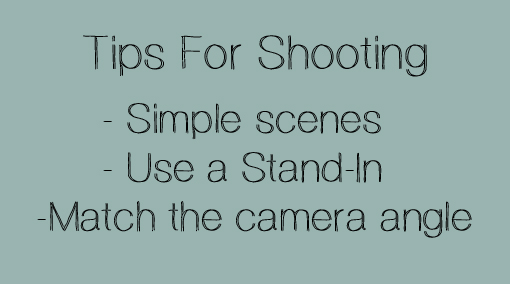
Shooting The Photos!
The first thing I always try to before I take any photo but especially these miniature ones, is make sure that I have a solid concept and an idea of any props or supplies I might need. The more prepared you are for shooting, the easier the entire process becomes. From my experience, shooting miniature scenes works best with simple backgrounds like walls, windows, or lush forest areas. If you have a busy background, even one with a lot of bokeh it can be difficult to make the images match in lighting.
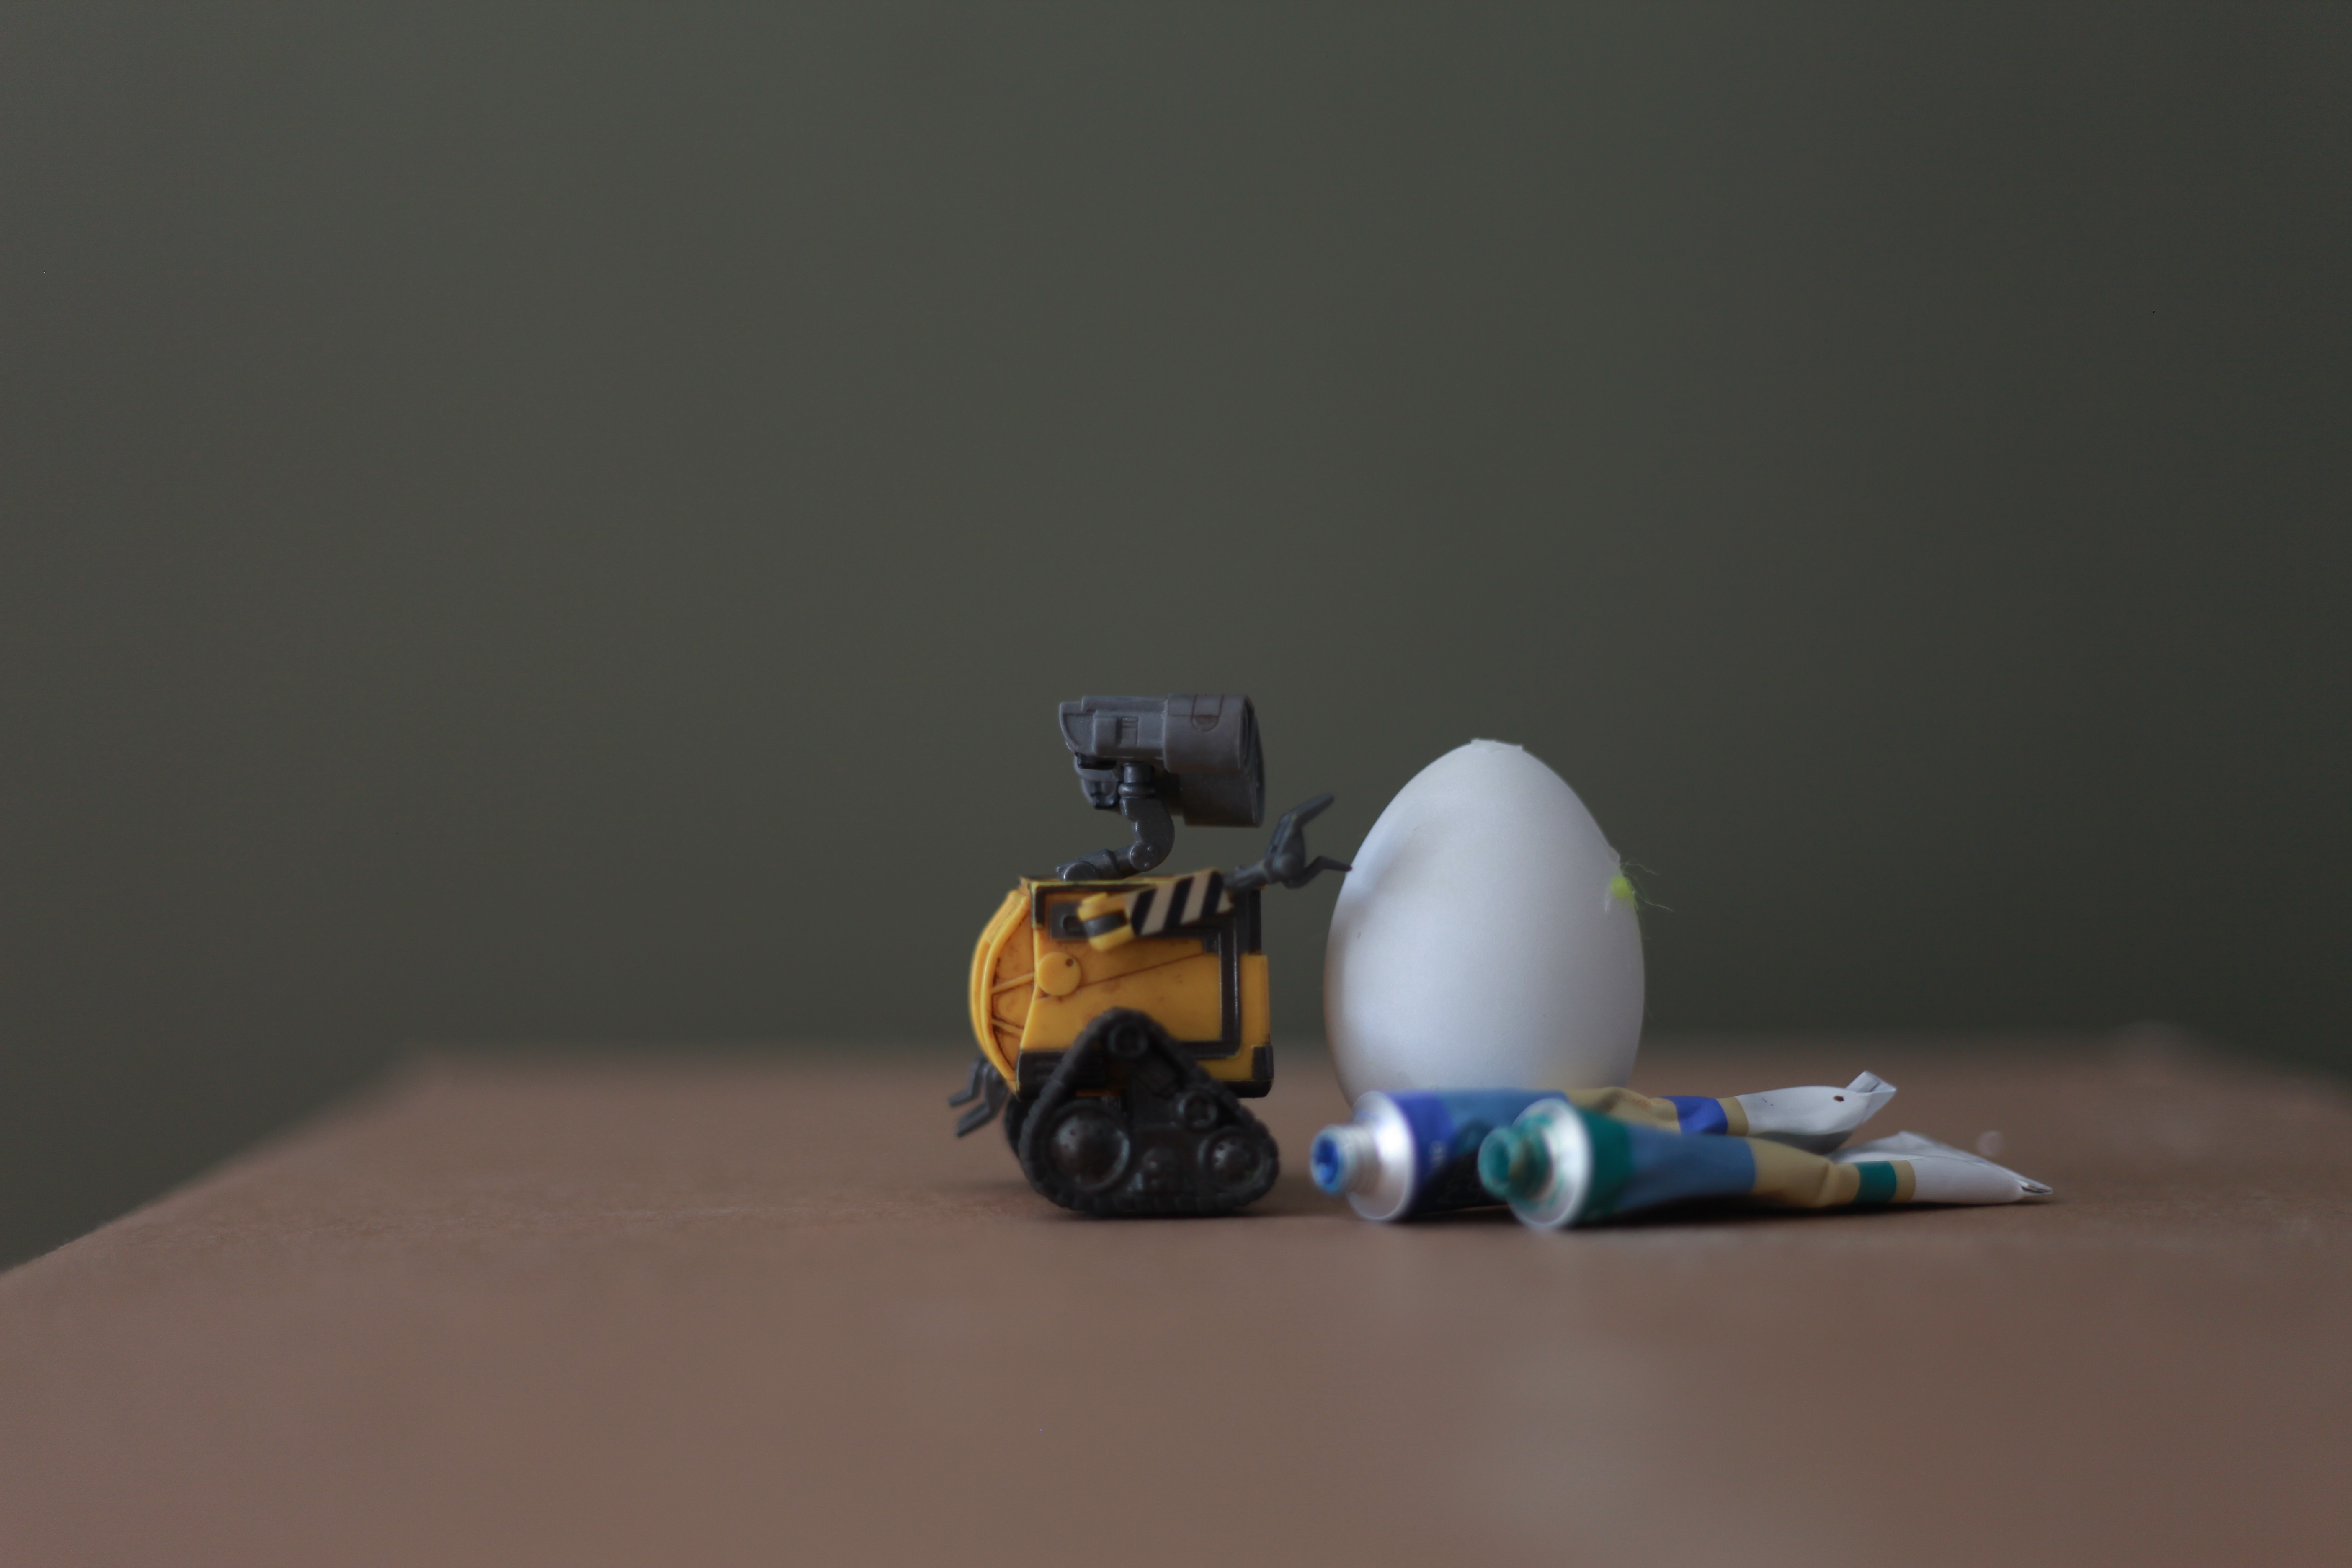
Once you have your concept and your location it’s time to shoot. Here is where you really have to put yourself into tiny shoes and imagine what the scene would look like if you were only an inch tall. I think one of the ways to make these photos look as realistic as possible is to have the focussing and DOF spot on. To do this, you don’t want to just take a photo of an empty scene, you want to have a stand-in for yourself or your model so that the focus is accurate and appropriate to the scene you’re trying to create. I usually use this guy:

This Wall-e figure is a great stand-in, it allows me to set the focus on where I will be layering in my own image or the image of someone else and it also gives me the opportunity to use shadows. Shadows and reflections are some of the smaller details that really help to build up an image and by using a toy stand in (lego figures would work too) it allows you to not only set up your focus and scene but also keep and use the shadows that the toy casts.
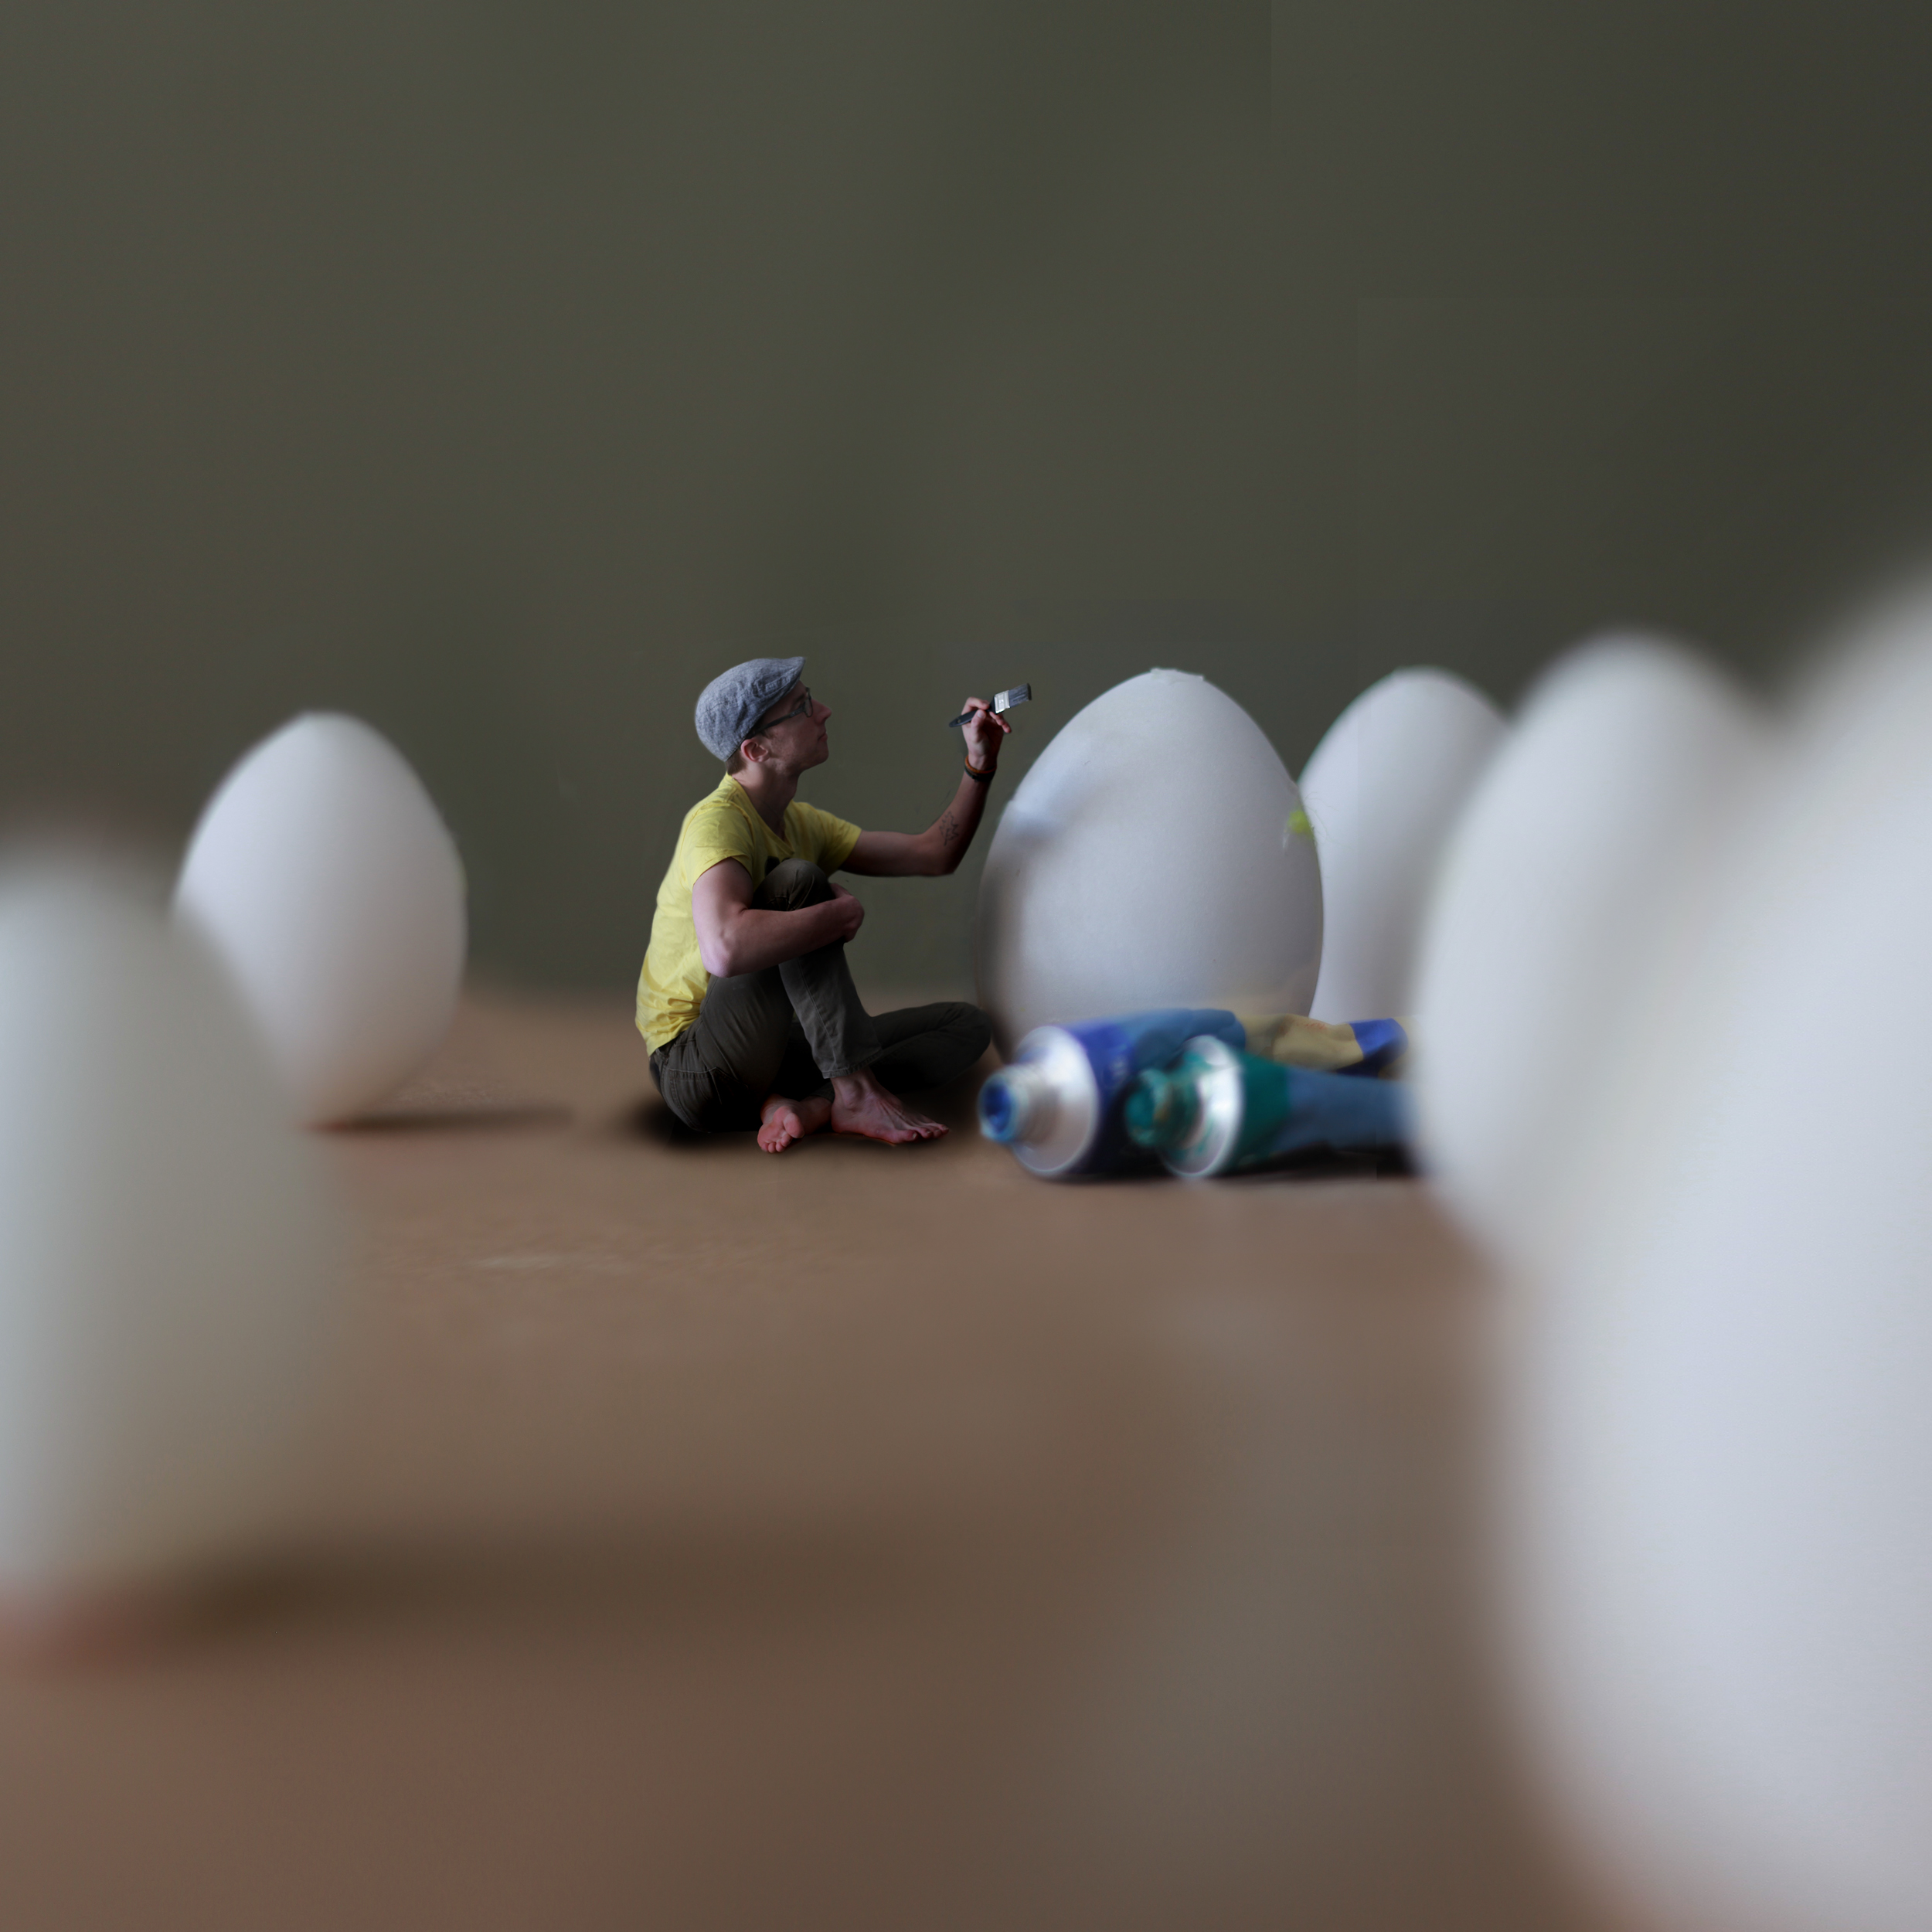
After you’ve set up your stand-in and you have the focus where you want it, lock the focus. Take a few shots with your stand-in and then remove it to get some photos of what we’ll call the “blank scene”. This is where you can get creative, you can do an expansion if you like or keep it to one shot. You can start to add in new elements (dropping coffee beans) or you can leave it simple.
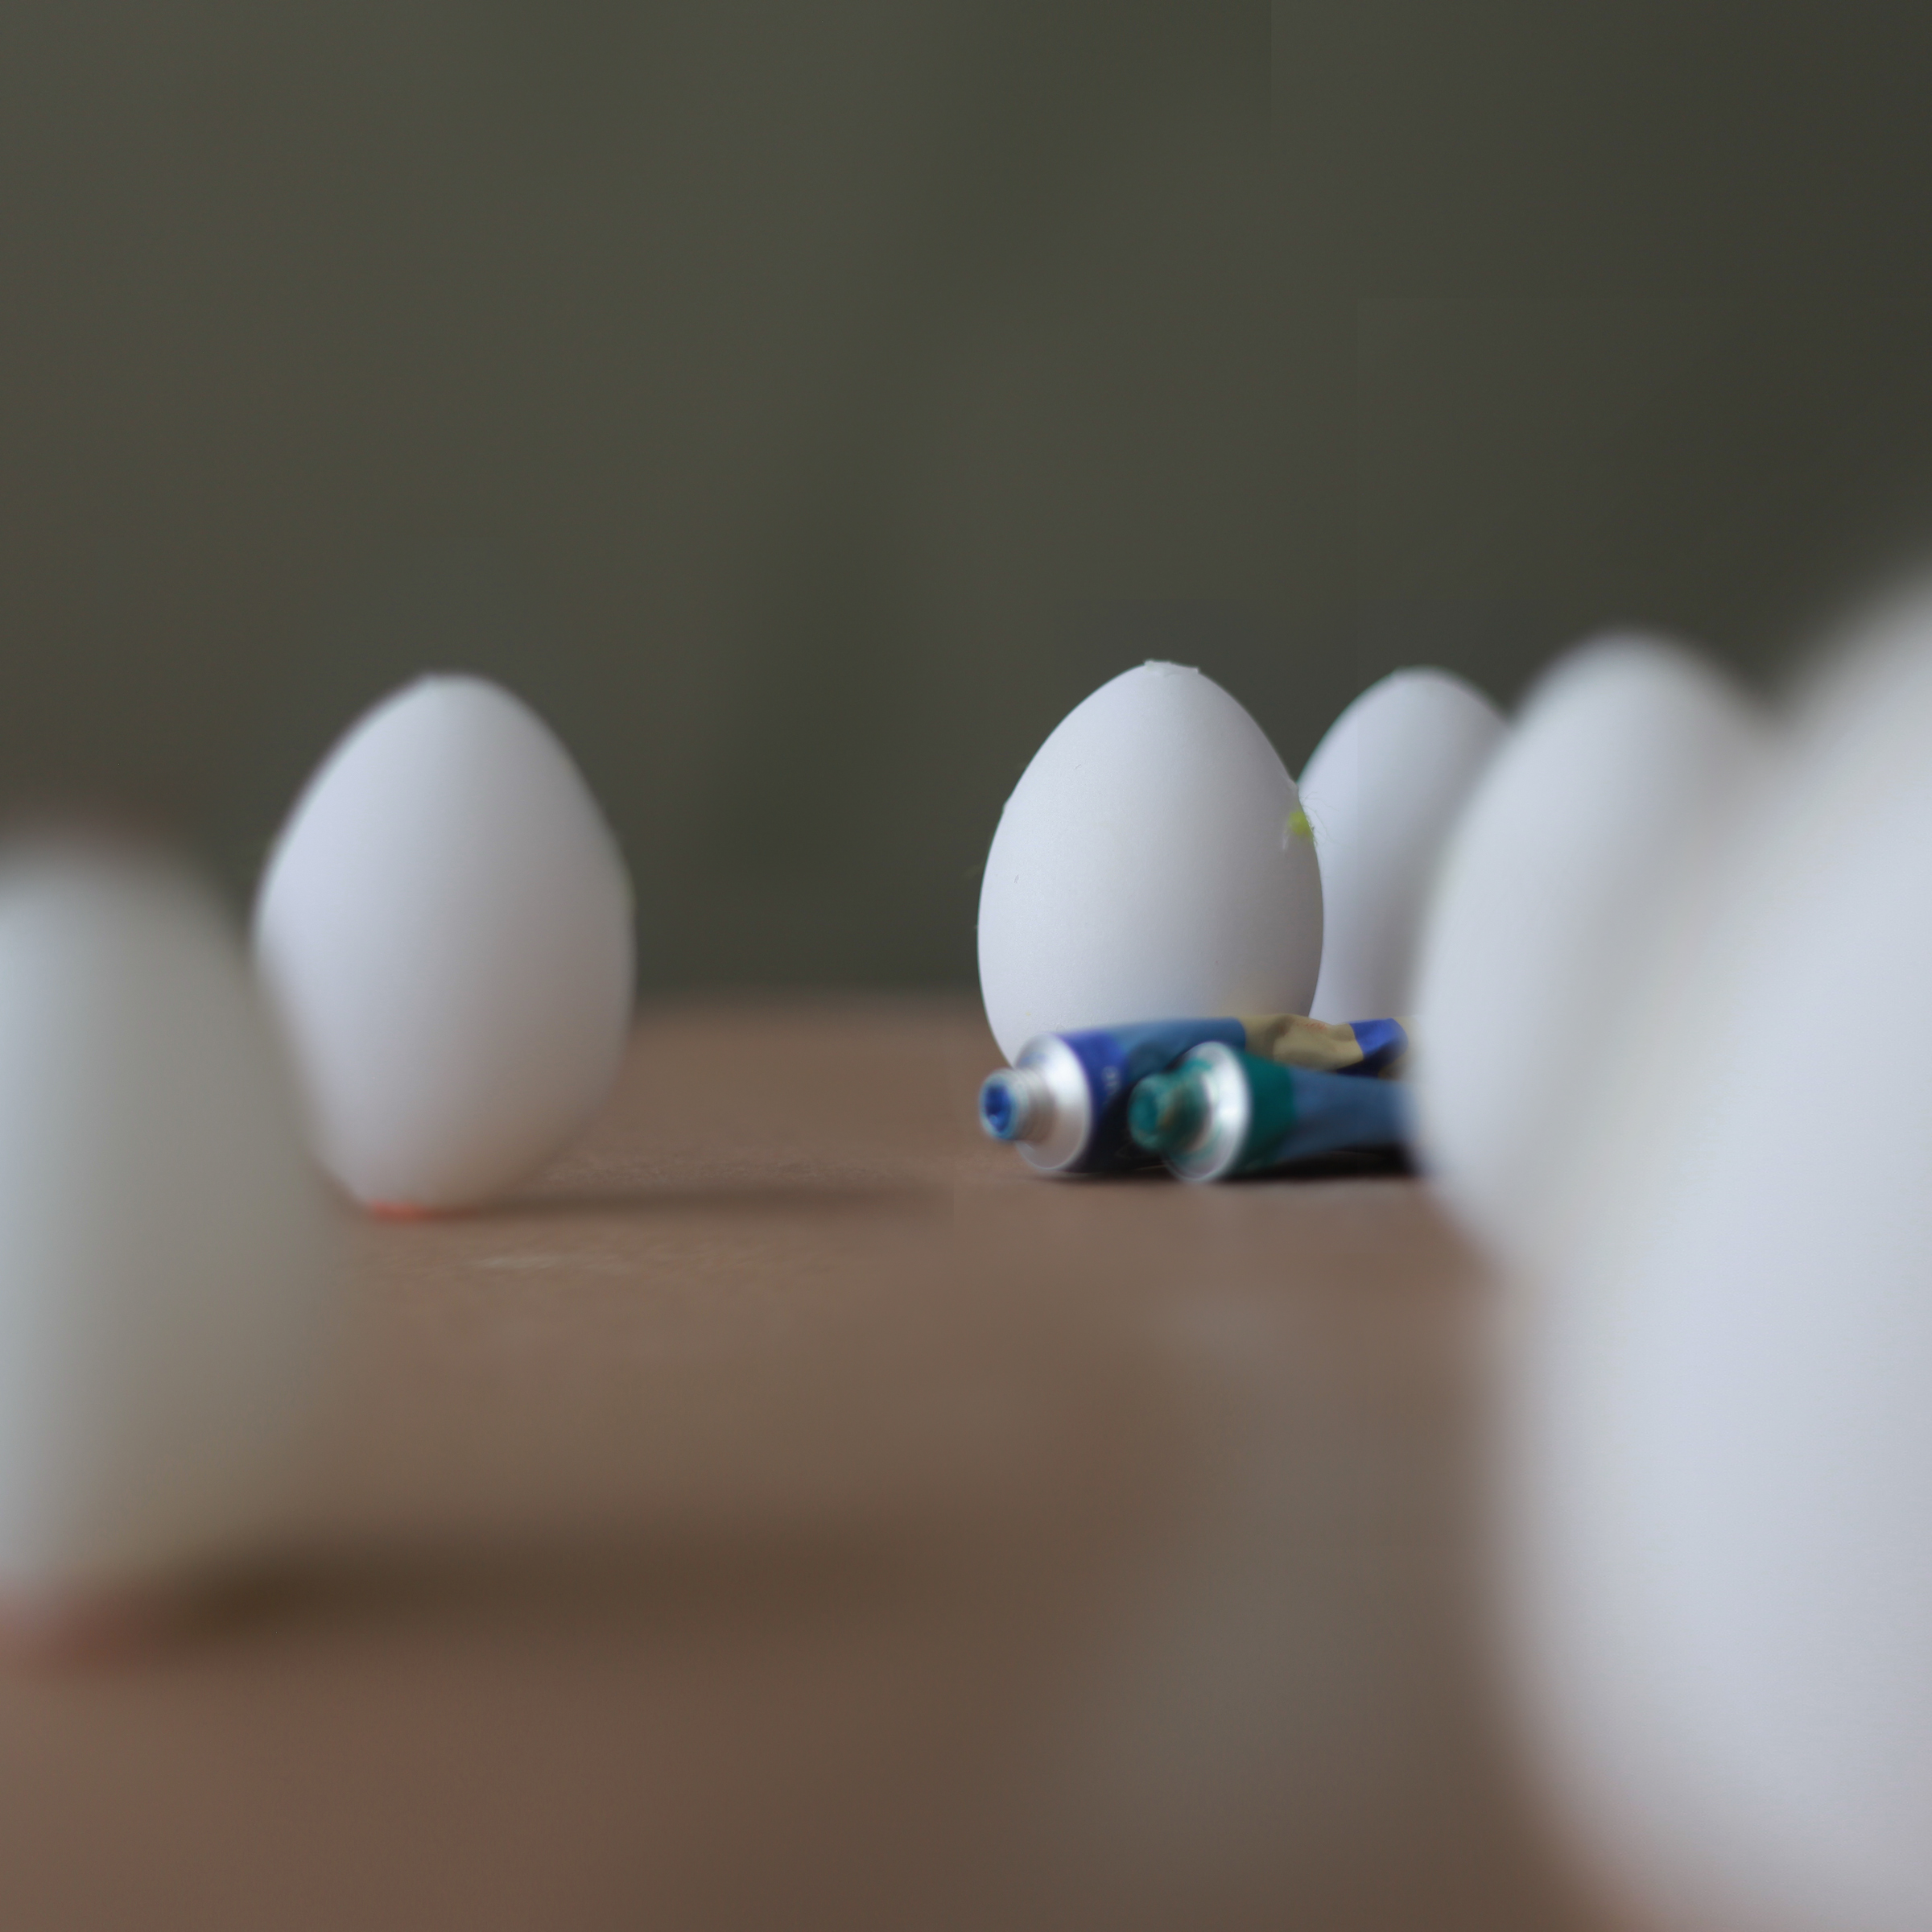
Blank Scene
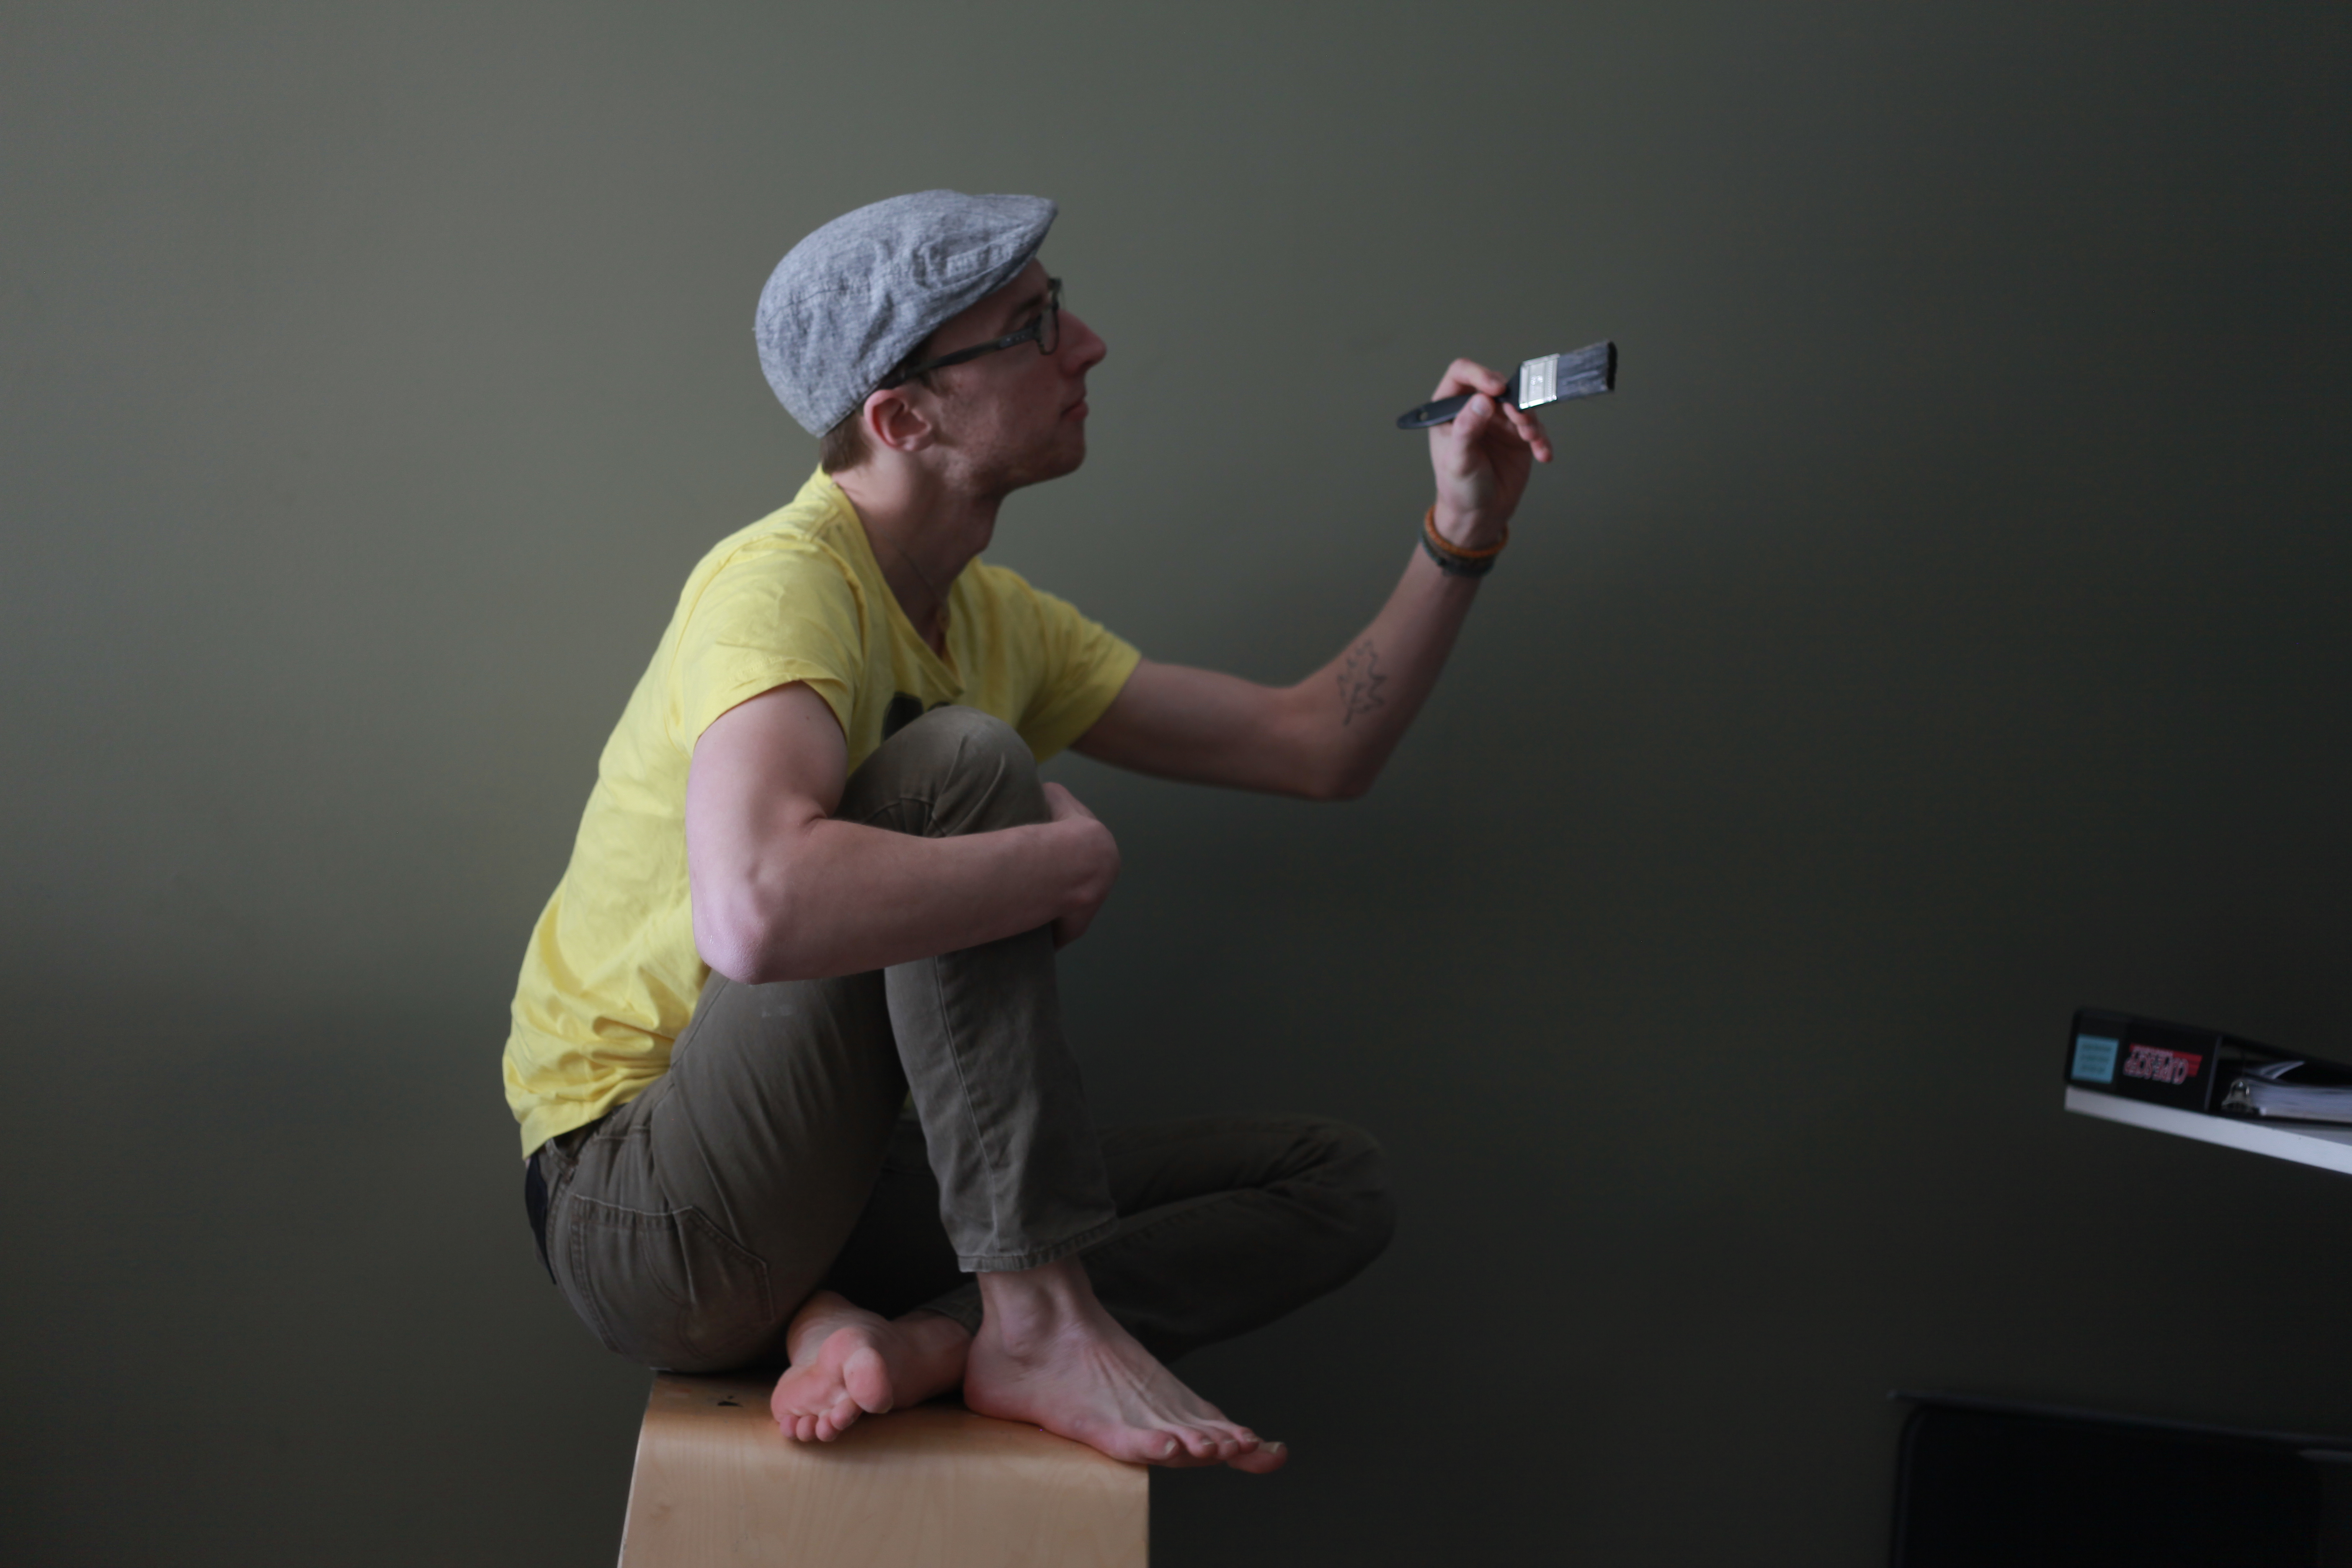
Once you’ve finished with your blank scene it’s time to take the portrait side of the image. This is where things get a bit more particular. I always try to shoot everything in the same time frame and in the same location as possible so that the lighting and colouring looks as similar as can be. What I tend to do is look back into the first few images of my stand-in to see where my pose should be but more importantly where the camera angle should be. If you’re shooting the miniature at floor level, it means that you might have to sit on a chair or get your camera lower to make sure the angle and shadowing is similar. This is where you can go a little crazy with the photos, take more than you think you need to and check your results often so that you can adjust pose or angle if you need to. After you’re happy with the images, it’s on to editing!
Editing!
The first thing I always do is open up my blank scene photos and expand them (if you’re not doing an expansion, skip this part!) I usually include a layer using my stand in, just in case I need to use the shadows later on. If you’re not familiar with how expansions work, I do have a tutorial here that explains it! http://joelrobisonphoto.wordpress.com/2012/04/13/an-expansion-tutorial/
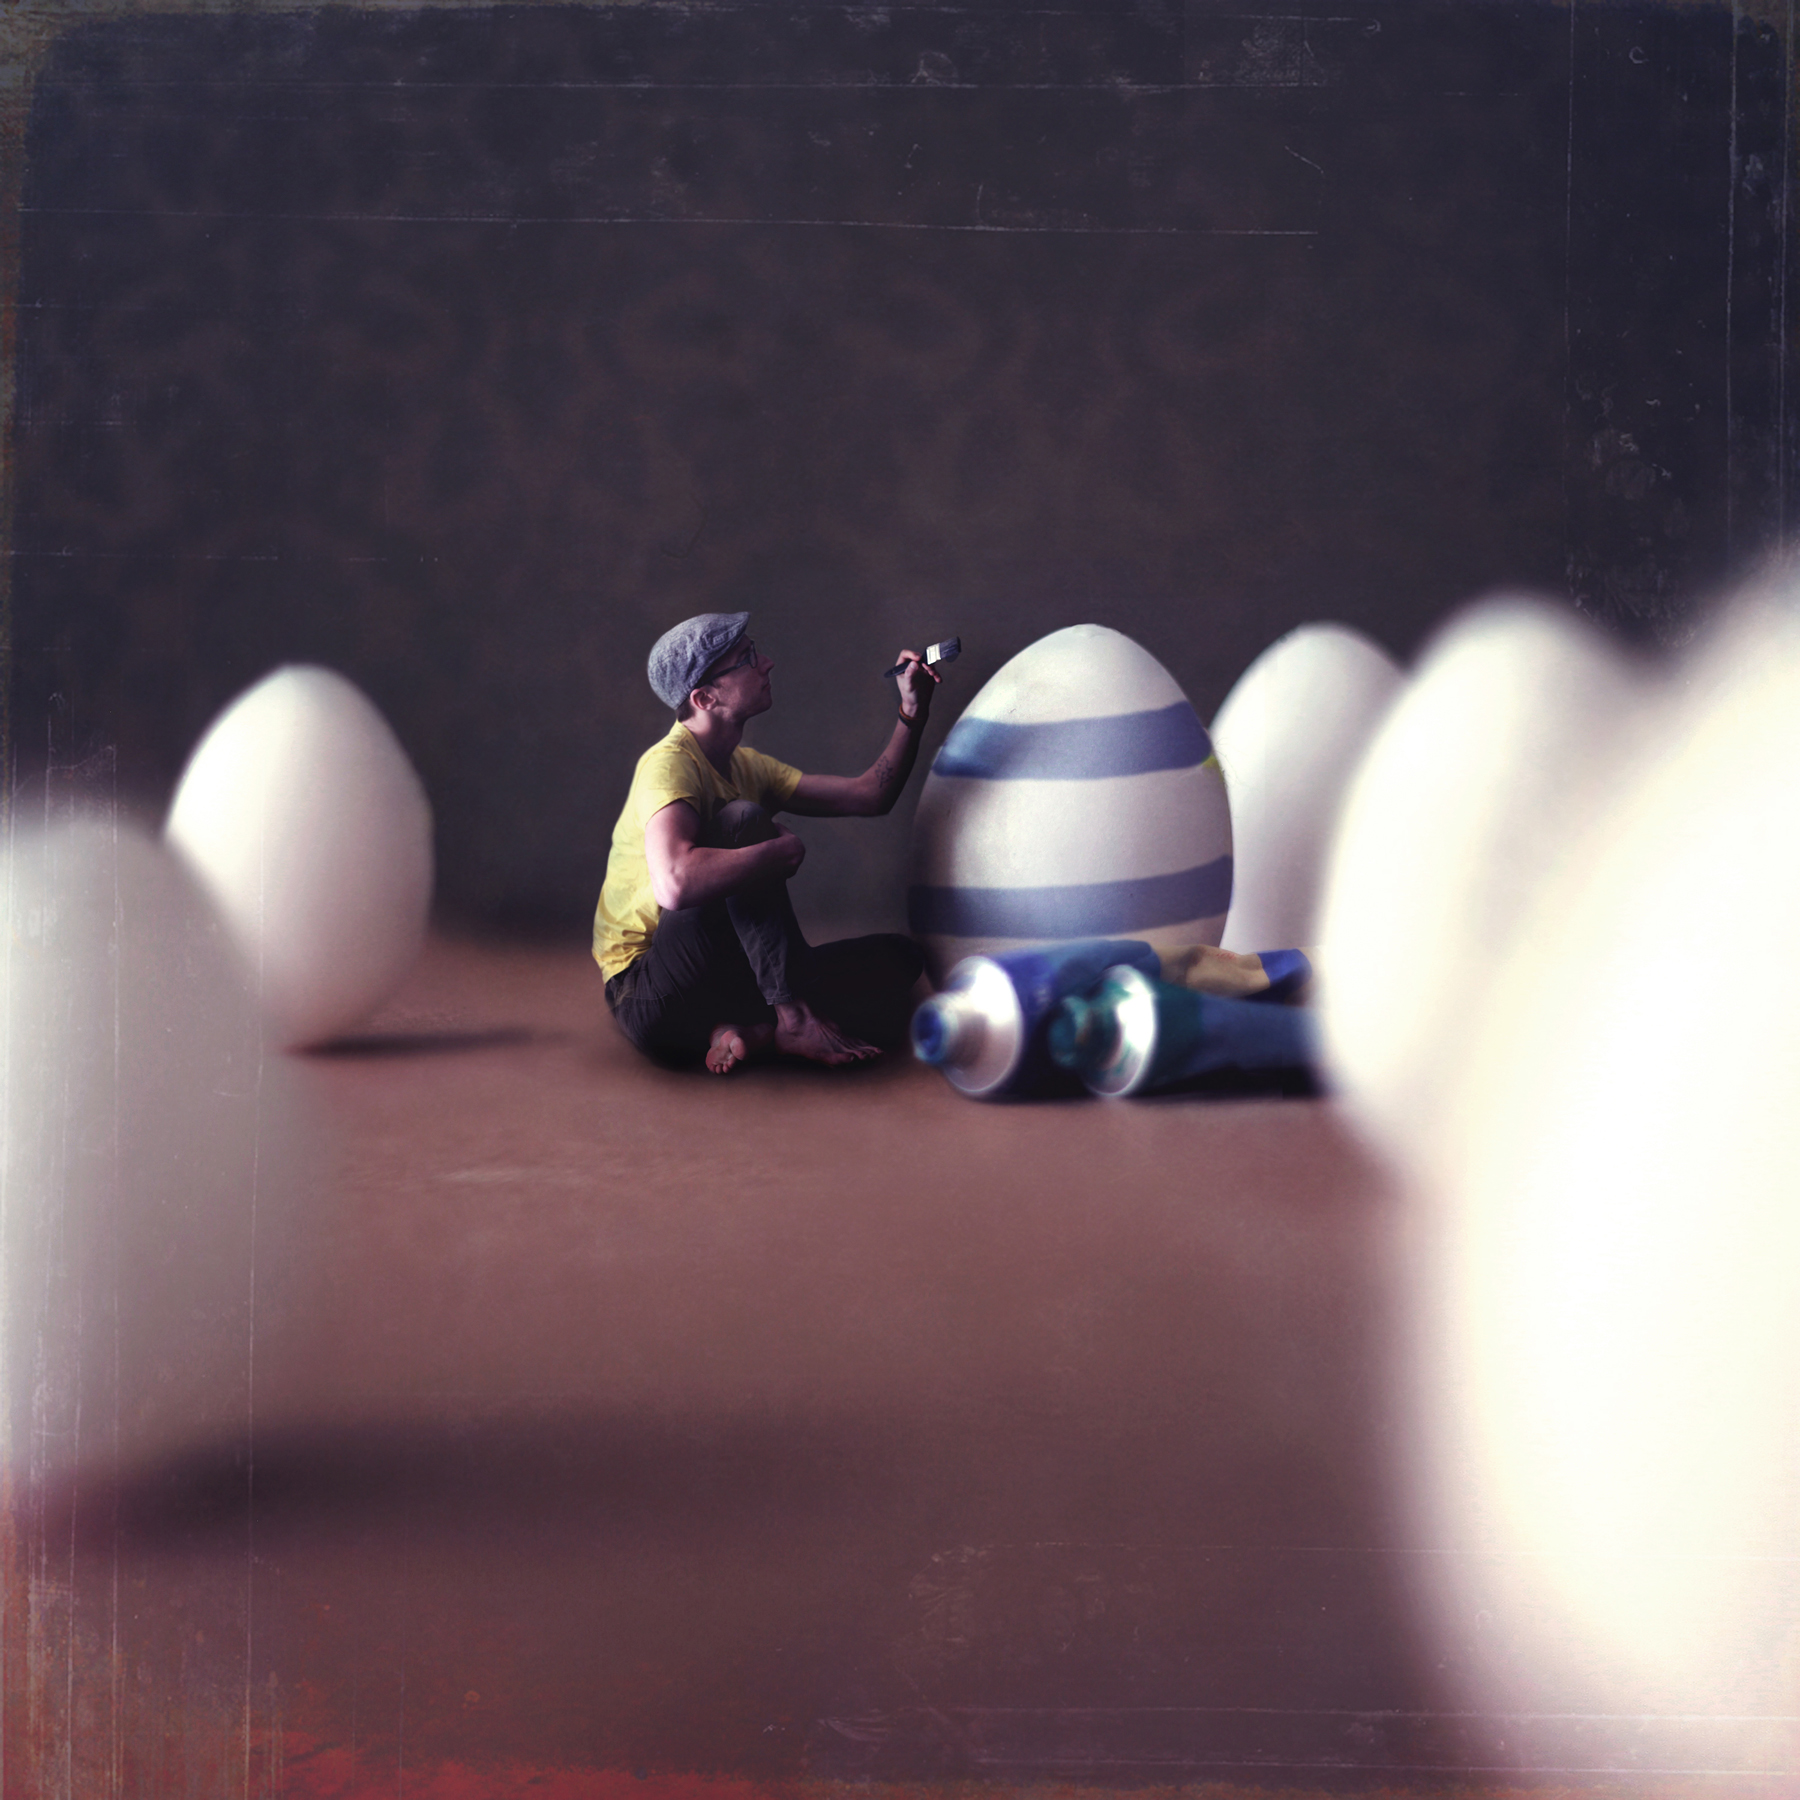
After you’ve set up your blank scene, it’s time to add in your Mini. Depending on the images, it can be as simple as layering the mini images in and simply masking out the parts you don’t want but usually it involves resizing the “mini” layer to fit the scene.
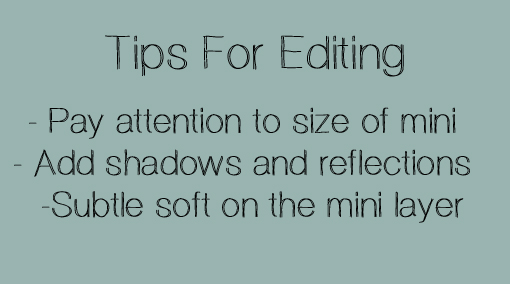
Resizing the “mini” layer is where things can get tricky. You have to keep in mind the original scene that you set up, how tall was your stand in and what is the focus set to? If you shrink yourself too small or not enough, it sets everything slightly off. So, using a lot of trial and error simply resize this “mini” layer. I usually mask the layer roughly first just to get the sizing right and then do a clean up after I’m happy with it.
So now you should have the basis of a “mini” shot! This is where those finer details come into play. In the shot below, I knew I would need to have a shadow of my arm and hand over the egg, so using the layer with Wall-e I copied his shadow and layered it into the image. I also knew that there’d be some more shadows needed around my feet and legs so using the burn tool I lightly burned the area to darken the shadows. Sometimes I also use the soften brush on a low opacity to add some DOF to the “mini” layer, this is helpful to give some realistic DOF. Just by doing a very subtle soften of shoulders, knees or other body parts that are a bit further away from the camera it helps to give a more cohesive and finalized look to the mini layer.
If you’re unsure of shadows or reflections, just return back to your stand-in shot to see where things should be and if you need to add in any final details. Once you’ve finished with the smaller details, you can continue to edit the colour tones, curves, textures etc of the image all at once!
Reblogged this on ty.nguyen and commented:
Miniature Life Tutorial by Joel Robison
Joel! Thank you so much. I cant WAIT to get to use this for my Alice in Wonderland photos. You’re so wonderful!
Oh, I’ve been thinking about doing these for the longest time, and always thought I wouldn’t be able to. Thanks for the Tutorial, Joel! I’ll try it some time! 🙂
http://www.flickr.com/photos/skhanphotography/8599715064/in/photostream/lightbox/
loved it!
Joel, this is wonderful. I had made some photos before, but thanks. After reading this I see I was missing some important stuff, and also how I was make thing so complicated when it can be so easy. Thanks again! Soon I’ll send you my new results.
PS: I love you! Watching your work inspire me a lot. Finding you was the best that happened to me in this 2013.
Please never stop being you and doing you magic!
Awesome tutorial, Joel! 🙂
Something you didn’t mention that I wonder is relevant is the F-stop at which you shoot the two separate images.
I assume you shoot the “scene” image at a wide aperture and the image of you at a much smaller aperture, so your entirety is in focus?
Hey 🙂
Actually I usually leave the aperature the same for both shots, the only time I change it is when I’m making tiny things larger which is a whole different thing 🙂
Ah okay. That makes sense. 🙂
I’ve always been curious to know your shooting and editing process behind your oh so wonderful photos; thanks for sharing!!
http://www.flickr.com/photos/88715636@N08/8604086691/in/photostream
thanks so much for this! I’ve been looking for a tutorial for this type of thing because I saw your work. Awesome!
Thanks a heaps Joel! I am your fan!
thts wonderful…thnks 4 sharing
Reblogged this on Siyana Kasabova Photography and commented:
An amazing miniature tutorial by Joel Robinson!
Absolutely loved this tutorial!! Here is my first attempt 🙂
https://www.facebook.com/photo.php?fbid=450758578332714&set=a.126622247413017.27825.124138297661412&type=1&theater
[…] photographer Joel Robison has been garnering a lot of attention for his quirky “miniature life” photos. In his series, […]
this was very helpful! thank you
http://www.flickr.com/photos/malenasphotos/8606812725/
I’m confused about the portrait angle … does it just have to be lower??
For the portrait angle you just have to match the angle that you shot the blank scene, so sometimes it means shooting it at a lower angle than you might normally.
Fantastic, Joel! Thanks Much for the tutorial! Been waiting for it eagerly!
Your tutorial was amazing! I love your work!! Here is my first attempt at making a miniature 😉
https://www.facebook.com/photo.php?fbid=185950758219431&set=a.145013872313120.32549.117026015111906&type=1&theater¬if_t=photo_comment
Doing a 52 week self portrait project and welcomed the inspiration so thanks for that. 🙂
http://www.flickr.com/photos/bear__/8610306378/in/photostream
Joel, you inspired me a lot and I did this one earlier http://www.flickr.com/photos/49384475@N07/8195975227/in/photostream/.
Hey Joel! Thanks for the tutorial 🙂
It’s amazing to get a look behind the scenes and to get a glimpse of how you create these unique pieces!
Reblogged this on For The Joy Of… and commented:
Joel Robinson is definitely an idol of mine! His photography is so dreamy, yet honest. Here’s how he does some of what he does… go grab your camera now.
Thanks for the inspiration! Here is my photo 🙂
http://www.flickr.com/photos/29859769@N03/8621652804/in/photostream
Thanks so much Joel, this was a lot of fun and it was very kind of you to share your knowledge!
http://www.flickr.com/photos/arrowlili/8622175419/
super you!
Hello Joel ! Thanks very much for this tutorial, I found very usefull tricks !
Here is my first try, hope that there isn’t too many mistakes…
http://invi-light.deviantart.com/art/Looking-for-old-myths-363820657?q=gallery%3Ainvi-light&qo=0
This is the first thing I did after my last exam. =P
Unfortunately I have got more coming up and didn’t have much time, so kept it simple… My first MINI photograph is dedicated to the man himself, JOEL ROBISON. =D
http://www.flickr.com/photos/xiahon/8625496148/in/photostream
Great tutorial! https://www.facebook.com/photo.php?fbid=554373397917553&set=a.520916154596611.115372.212719105416319&type=1&theater
This is a great tutorial! I already had an idea how you do it but I didn’t know about the stand-in 😉
I will definitely try this too! Thanks 🙂
Hey Joel,
When you say you use the “softening brush” do you mean the blur tool?
And thanks for sharing your How-to’s. Very inspirational.
that is most helpful. do you think it will be possible to add some screen shots, i.e. adding shadow onto an egg?
Thanks for the inspiration man
Here is my attempt , actually did it before reading the tutorial but I still had to thank you for all the inspiration
You are awesome man !
https://www.facebook.com/photo.php?fbid=351684618225838&set=a.324809090913391.75779.100001529081503&type=1&theater
A comment from you will totally cheer me up 😀
I’m love your Miniature Life tutorial .
Hi, I’m one of the fan of your photos.You are very succesful photograpy artist. If you give also a texture tutorial, I will be very very pleased. ,
This helped me so much! I would apreciate if you took some time to look at what I came up with 🙂
http://www.flickr.com/photos/marrekphotos/8613542622/
Much love,
Marte Rekkavik
Joel! Your work is truly inspirational. You have an astounding ability to create an inviting imaginative world and share it with everyone.
How did you get so good at photoshop? Any tips?
Here is my first attempt, let me know what you think: http://www.christianoz.com/the-beautiful-people/pixie/
Keep up the awesome work and I hope our paths cross someday!
Christian
Thanks for the tutorial!
This is amazing, and I see many other tutorials that are going to be useful to me. After 11 years doing child portraiture, I am SO READY to stretch my creative muscles and dive into the advanced world of fantasy photoshop! I am planning a ‘dark themed’ little red riding hood shoot, but I have to get my creativeness flowing, and I plan to do a little miniture shoot myself, Im thinking of making my daughter into a doll! Love it and thank you soooo much for taking YOUR time to share YOUR secrets! Do you happen to also make youtube videos I can subscribe to? that would rock!
Your photo’s are wonderful. I love the miniatures photo’s, it is so creative and magical! Thanks for this tutorial and all the inspiration.
Senna
Great article…..gets me thinking….and that’s great!
This is Amazing! Love, love, love it! Thank you so much for explaining. Also on a easy-level to understand. Very helpful!!!
Thank you Joel,
Your work is inspiring!
Joel, thank u for share it with us. I’ll try again and send u an link with my picture. kiss <3
Love your tutorials, they’re so helpful, as I’m researching your work for my Photography course and it’s great knowing exactly how you do it!
i have to.. thank u
https://www.facebook.com/photo.php?fbid=358213747637058&set=a.195637937227974.22055.100003453088567&type=1&theater
Hey Joel, I always used to wonder what type of photography interests me the most. Trying all the genres, here I have landed finally. I love conceptual photography and since the day I saw your photography I have gone crazy. Now m gonna try conceptual portraits and later will send you links. you are an inspiration