It’s been a while since my last tutorial but I wanted to wait until I had the right photo in mind before writing one, I hope that you find this one as informative and fun as the previous ones 🙂
So this is what I think is the easiest way to do a levitation type photo, there are endless ways for you to interpret this style and editing and I hope that it gives you a good starting point for creating your own floating, flying, levitating photos.
First off, I’ll say that the most important parts of doing a levitation photo are basically to have a base image with nothing in it, and your main focus image. For the tutorial I’ll break it down into three main points; the set-up, the photos, and the processing.
Part 1: The Set-Up
So one of the key points of doing a levitation photo is to have something to sit, stand, lean, lay on. I’ve used anything from stumps, stools, chairs, even an ironing board. Use what you think is going to give you the best height, and will be the easiest to bring in and out of your setting. Keep in mind you want the surface of what you’re going to be on, to be rather small that way you don’t have to worry too much about creating a large flat section of your clothing when you’re laying or sitting on your item.

- this is what I found in the field to lean on….probably not too safe
Part 2: The Photos
Once you have your scene set up with your resting item (we’ll call it your seat), you can start shooting. I usually take a lot of images at this point just so there are more to choose from, change your pose often so that in case you want to borrow parts from one image and add it to another, you can (like flying scarves, different hand positions etc…) If you’re wearing something that’s loose try to drape it over the edge of your seat so that when you are editing, you can create a more natural looking line. Also, try not to hide anything behind your seat, make sure your hands and legs aren’t hiding behind the seat!

Once you’re done shooting what we’ll call your “focal image” go to your camera and set the focus from Auto to Manual (usually on the side of the lens, switch to MF). That way from now on, your photos will all have the same focus length. Now you’re going to need to take your base image which is going to be the exact same as your “focal image” just without you in it. Remove your seat from where it was and then take a few pictures without moving your camera, you should have the same image as your “focal image” just without anything but a background. From this point you can take any additional images you need to fill the frame or expand.
Part 3: The Processing
In your editing program, open up all your images. We’ll be working with your “base image” (aka the image with just the background). If you’re expanding your frame using stitching presets or manually do that now with your “base image”.

expanded frame
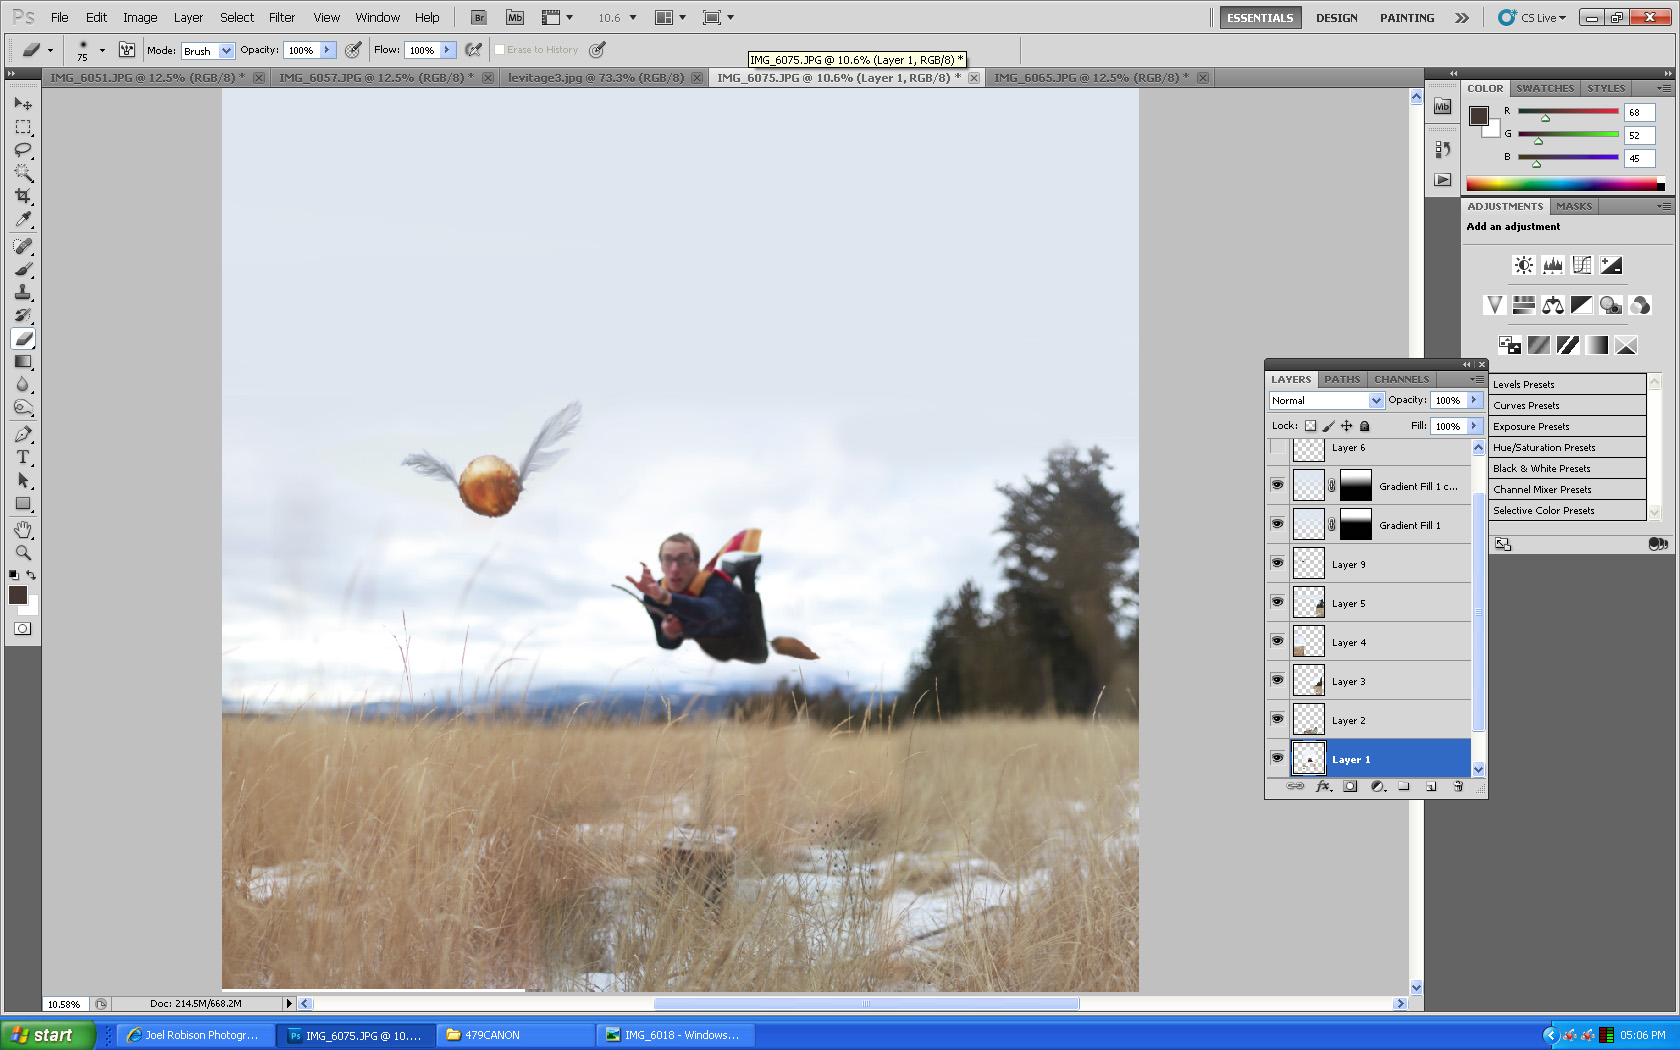
Now, open up your “focal image”, select the whole thing and copy it. Now paste it in as a new layer onto your “base image”. Lower the opacity of your “focal image” and then get it to match as closely as possible to your “base image”, then you can put the opacity back up to 100%.

matching both layers
With a soft eraser tool, start to erase your “seat” from the “focal image”. You should be seeing the background starting to show up. Erase all of your seat and any other parts of that layer that you don’t need. This is pretty much the basics of doing a levitation image.
You can at this point do any other editing like changing tones, curves, levels etc…you can also add in other parts of other “focal images”. For this photo, I liked the flying scarf from another photo so I pasted it in as new layer and softly erase the hard edges until it matched the rest of the image. At this point I also added the snitch and the “broom” part of my broom.

after the "seat" has been erased

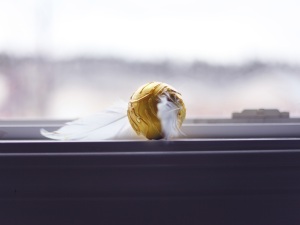
I hope that this short tutorial helps you out and I’m really excited to see you try it out. In fact, I’m offering a give-away of some custom made Harry Potter props if you try out this tutorial and share it either in the comments below, on my facebook page or linked on Flickr. All you need to do is let me know that you’ve tried this tutorial and I’ll add your name to the hat and 3 weeks I’ll pick a winner! I made the “golden snitch” in this photo, as well as some other Harry Potter props like a wand and some other goodies and I’ll send them to the winner 🙂

=D anotherrrr tutorial!! i’d love to try it out!
and you made that golden snitch! *gasp* that is so creative Joel!
Amazing tutorial, Joel! 😀
Joel. You’re such a reference to me. Thank you !
Best regards from Brasil.
Gabriel Vanini.
Thanks for the tutorial! You are such an inspiration <3
I really love your Harry Potter props. That snitch, oh my goodness!
Just brilliant.
wonderful tutorial.
I did a levitation photo today & I’ve linked to your tutorial in my blog post 🙂
thanks for the tutorial joel, might use this in an upcoming photoshoot i’m planning right now 🙂
I love your tutorial! Thank you so much! 🙂
I tried to make it..
http://www.flickr.com/photos/when_it_rains/6896442557/in/photostream
thanks Joel , ur tutorial helped solving the levitation mystery 🙂 .
ur te best .. waiting for more..
Aaah, I so want some Harry Potter stuff! Maybe I’ll join in, using this tutorial! It was great by the way 🙂 You are so inspiring!
This is such a great tutorial! I also used the patronus tutorial you did to create this photo http://www.flickr.com/photos/eloisebrown/6899011653/in/photostream .
I love your blog and all of your tutorials, and just your photography in general!
I don’t know if this counts.. but it’s worth it to share. I did a similar thing you did but a little different quite a while back.
Here’s the image!
http://www.flickr.com/photos/jacob_skoglund/6721134683/in/photostream
I love levitating photos!
Dear Joel
A short hello from a danish reader. Your pictures are a kind of treasure to me, and you have so fine words. Every time I come around your blog, I get excited about life’s mystery and wonders, even on a low day and you get me thinking about my inspirations, favorite places etc.
I’m a big HP fan, but not a photographer, so will just take this opportunity to tell you, that I love that you make HP stuff like patronus come to life.
Many kind thoughts
Malene
thank you so much for the tutorial! 🙂
[…] I did some experiment with levitation today. I accidently landed up on this great Levitation tutorial and decided to do it. Now, I have pretty much the idea on how to make something fly. I will use […]
Another one by me : http://www.flickr.com/photos/abhey_singh/7063374237/in/photostream
AMAZING! Thank you so so so much for sharing this!!! I can’t wait to try it out!!!
This is a great tutorial, thanks!